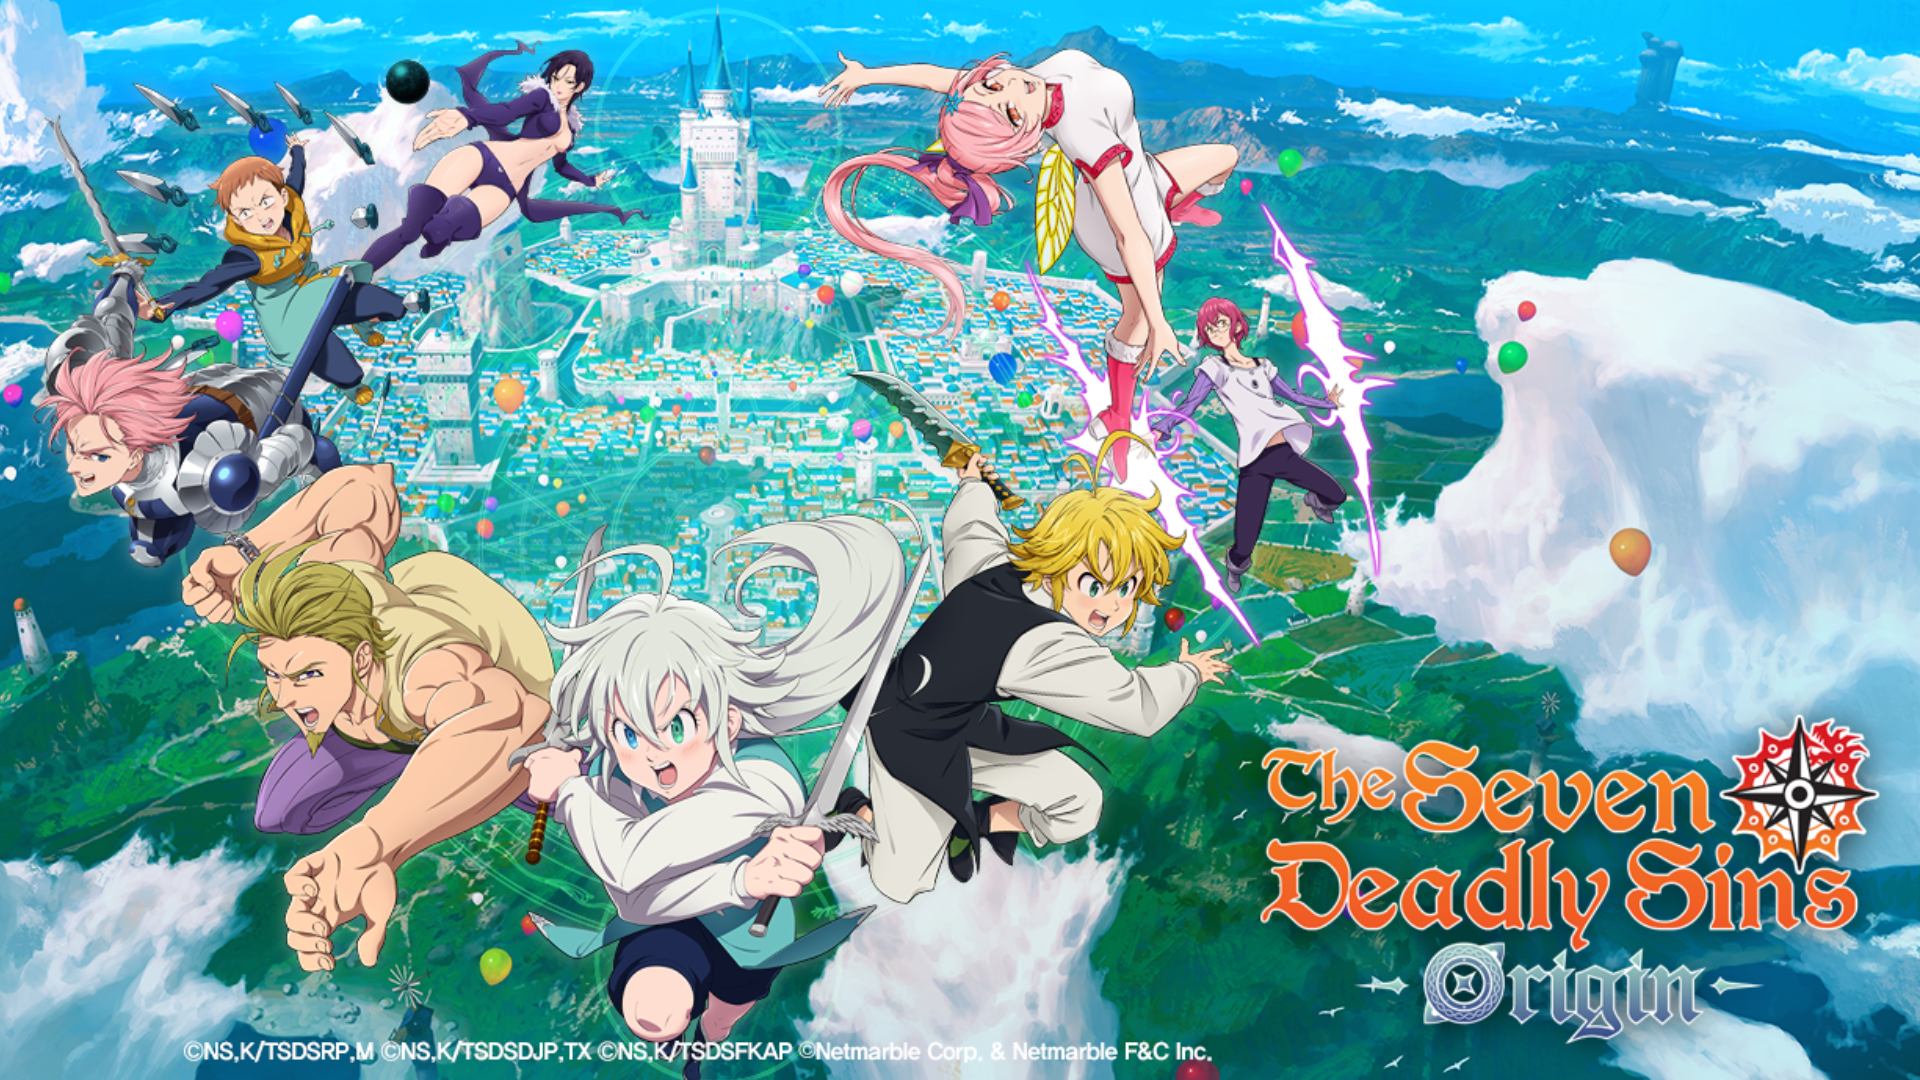
The Seven Deadly Sins Origin Boss And Raid Guide: Core Mechanics, Burst Windows, And Team Recommendations
Bosses and raids in The Seven Deadly Sins: Origin are built around reading patterns, abusing Elemental Burst windows, and using Tag Skills to interrupt or down enemies, especially in multiplayer. With the right elements and team roles, even the “insane” demon fights shown in CBT become consistent clears.
Core boss and raid mechanics
Bosses share a common design: big telegraphed attacks, unique gimmicks, and interactions with Tag Skills and Burst.
- Telegraphs and phases
- Major bosses like Red Demon, Gray Demon, and Albion use huge AoE patterns, airborne phases, and multi‑phase HP bars, requiring more than just dodging and spamming DPS.
- Gray Demon, for example, takes to the sky and launches aerial assaults after a timer; you must use specific Adventure Skills to shoot it down and stun it.
- Tag Skills as counters
- Tag Skills consume a Tag Gauge built by attacking and using skills, and are explicitly designed to counter boss patterns or provide clutch buffs.
- The boss guide explains that Red Demon’s powerful AoE strikes can be interrupted with well‑timed Tag Skills, creating counterattack windows that trivialize otherwise lethal moves.
- Environmental interactions
Treat Tag Gauge and environment objects as core mechanics, not side features, whenever you go into a raid.
Elemental Burst and damage windows
Elemental Burst is the main way to open big DPS windows and control bosses.
- Building and triggering Burst
- Hitting bosses with element‑tagged attacks fills an Elemental Burst Gauge, and when it’s full you trigger an Elemental Burst that applies an element‑specific field or effect.
- Each Burst increases your damage and adds a special effect; Kurono’s tips and combat breakdowns detail these interactions.
- Key Burst effects for bosses
- Wind: Creates a field that pulls in nearby enemies when Burst triggers—great for grouping adds or keeping smaller mobs near the boss for AoE.
- Fire: After Burst, taking damage triggers an explosion on the target, dealing extra damage; good when bosses spam multi‑hit attacks.
- Cold: Burst applies Cold stacks; further Cold hits add stacks, and at max stacks the target is frozen, giving powerful control and safe DPS time.
- Earth: Burst generates a stacking barrier above your character, up to five layers, greatly reducing incoming damage in heavy mechanics phases.
- Planning Burst windows
- In multiplayer previews, each character’s elemental Ultimate icon lights up even off‑field, helping you coordinate swap timing and Burst usage across multiple players.
- Effective strategy is: use Wind/Cold/Earth Bursts to control or survive a mechanic, then swap to your main DPS to unload skills and Ultimates while the boss is grouped, frozen, or you’re shielded.
Boss fights become dramatically easier when your group plans around these Burst triggers instead of firing them randomly.
Example bosses and what they teach you
Kurono’s Boss Edition and preview articles highlight five CBT bosses and what you’re supposed to learn from them.
- Red Demon – interrupts and Tag Skills
- Gray Demon – aerial phases and Adventure Skills
- Albion – environmental mechanics
Other CBT boss challenges and raids expand on these ideas but follow the same philosophy: learn the pattern, counter with Tag Skills or Adventure Skills, then Burst and nuke.
Team building and roles for raids
For raids (especially 4‑player), treat your group like an MMO raid party.
- Essential roles
- Main tank/frontliner: stance tanks and bruisers (King, Deiane, Meliodas in bruiser setup) who can stand in telegraphs and manage aggro.
- Burst DPS: high single‑target carries (Jericho, Deiane, Meliodas, Tristan) that dump huge damage during Burst windows.
- Healer/support: Daisy, Elaine, Elizabeth, King‑type supports for heals, shields, and buffs; crucial for multi‑hit patterns and DOTs.
- Mechanic handler / utility: at least one hero with the correct Adventure Skill for the fight (Gray Demon anti‑air, environmental trigger, etc.) plus strong Tag Skills for interrupts.
- Element coverage
- Sample raid team (per player)
In 4‑player co‑op, this means multiple tanks and healers across the group but always at least 1–2 players dedicating a slot to mechanics and Tag disruption.
Practical raid tips and common mistakes
- Learn and respect telegraphs
- Boss telegraphs are generous but punish greed; most wipes in CBT came from players ignoring red zones and trying to squeeze extra skills.
- Don’t spam Tag Skills
- Sync Bursts across the party
- Build enough defense and sustain
If your group respects mechanics, plans Tag and Burst usage, and brings at least one tank and healer, Origin’s bosses and raids go from “insane” to a satisfying loop of pattern recognition and massive Burst windows


